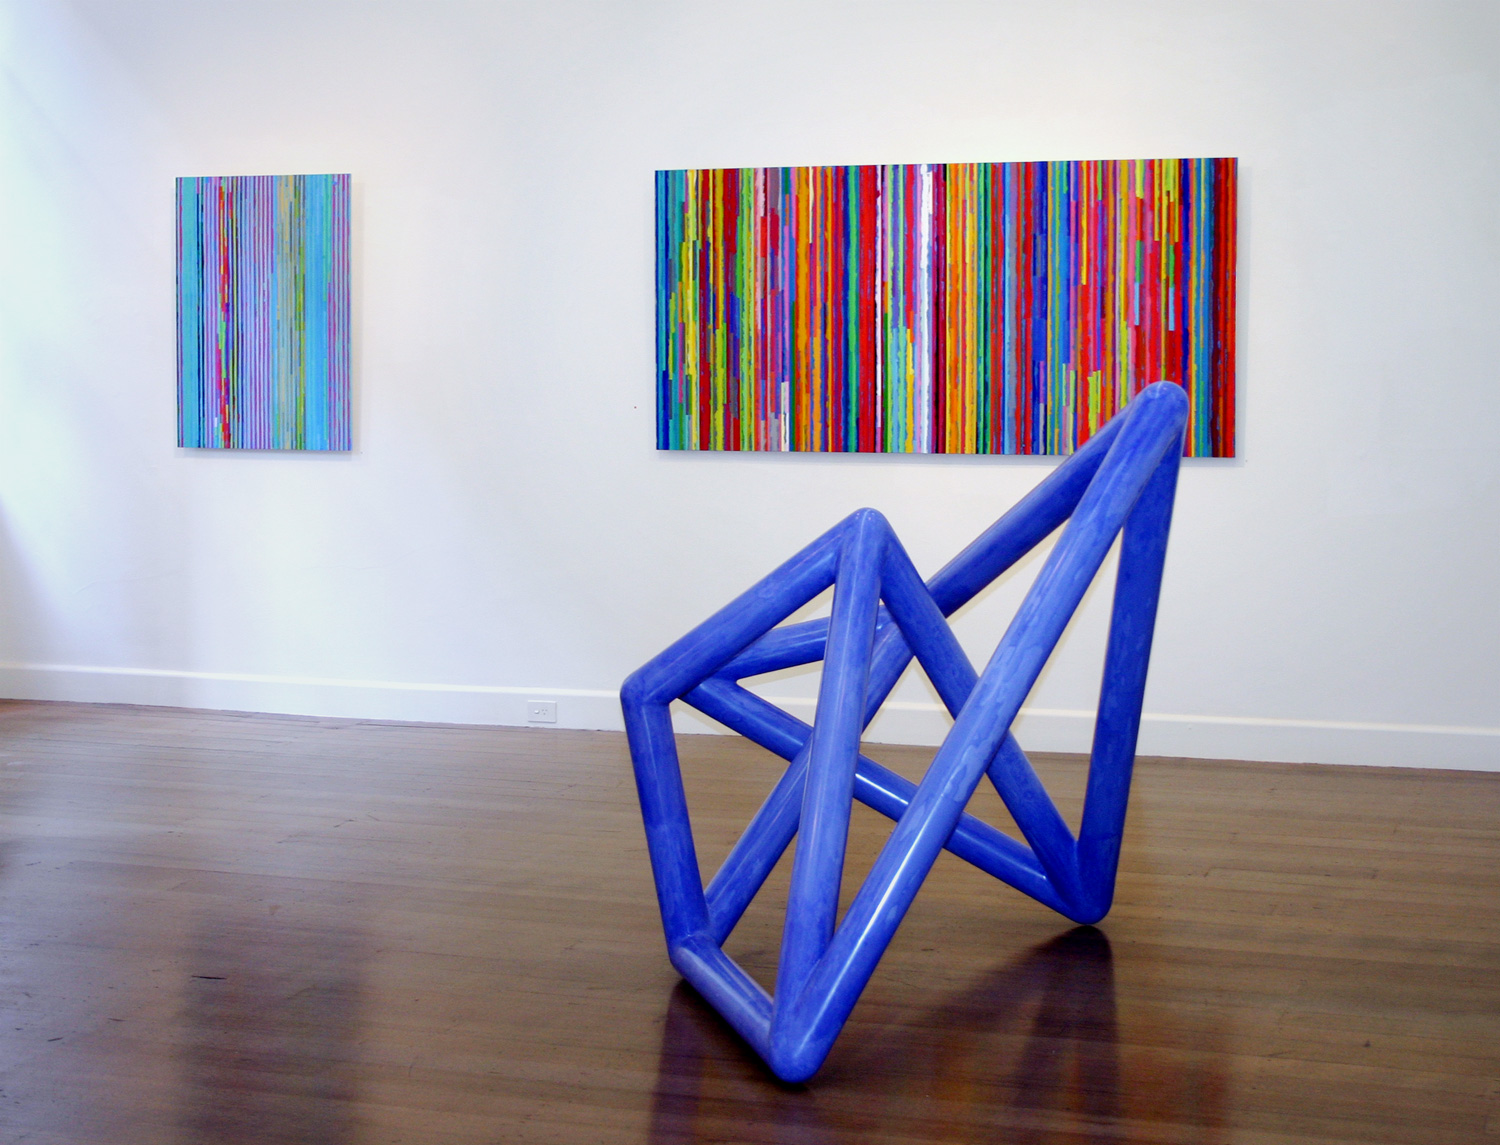
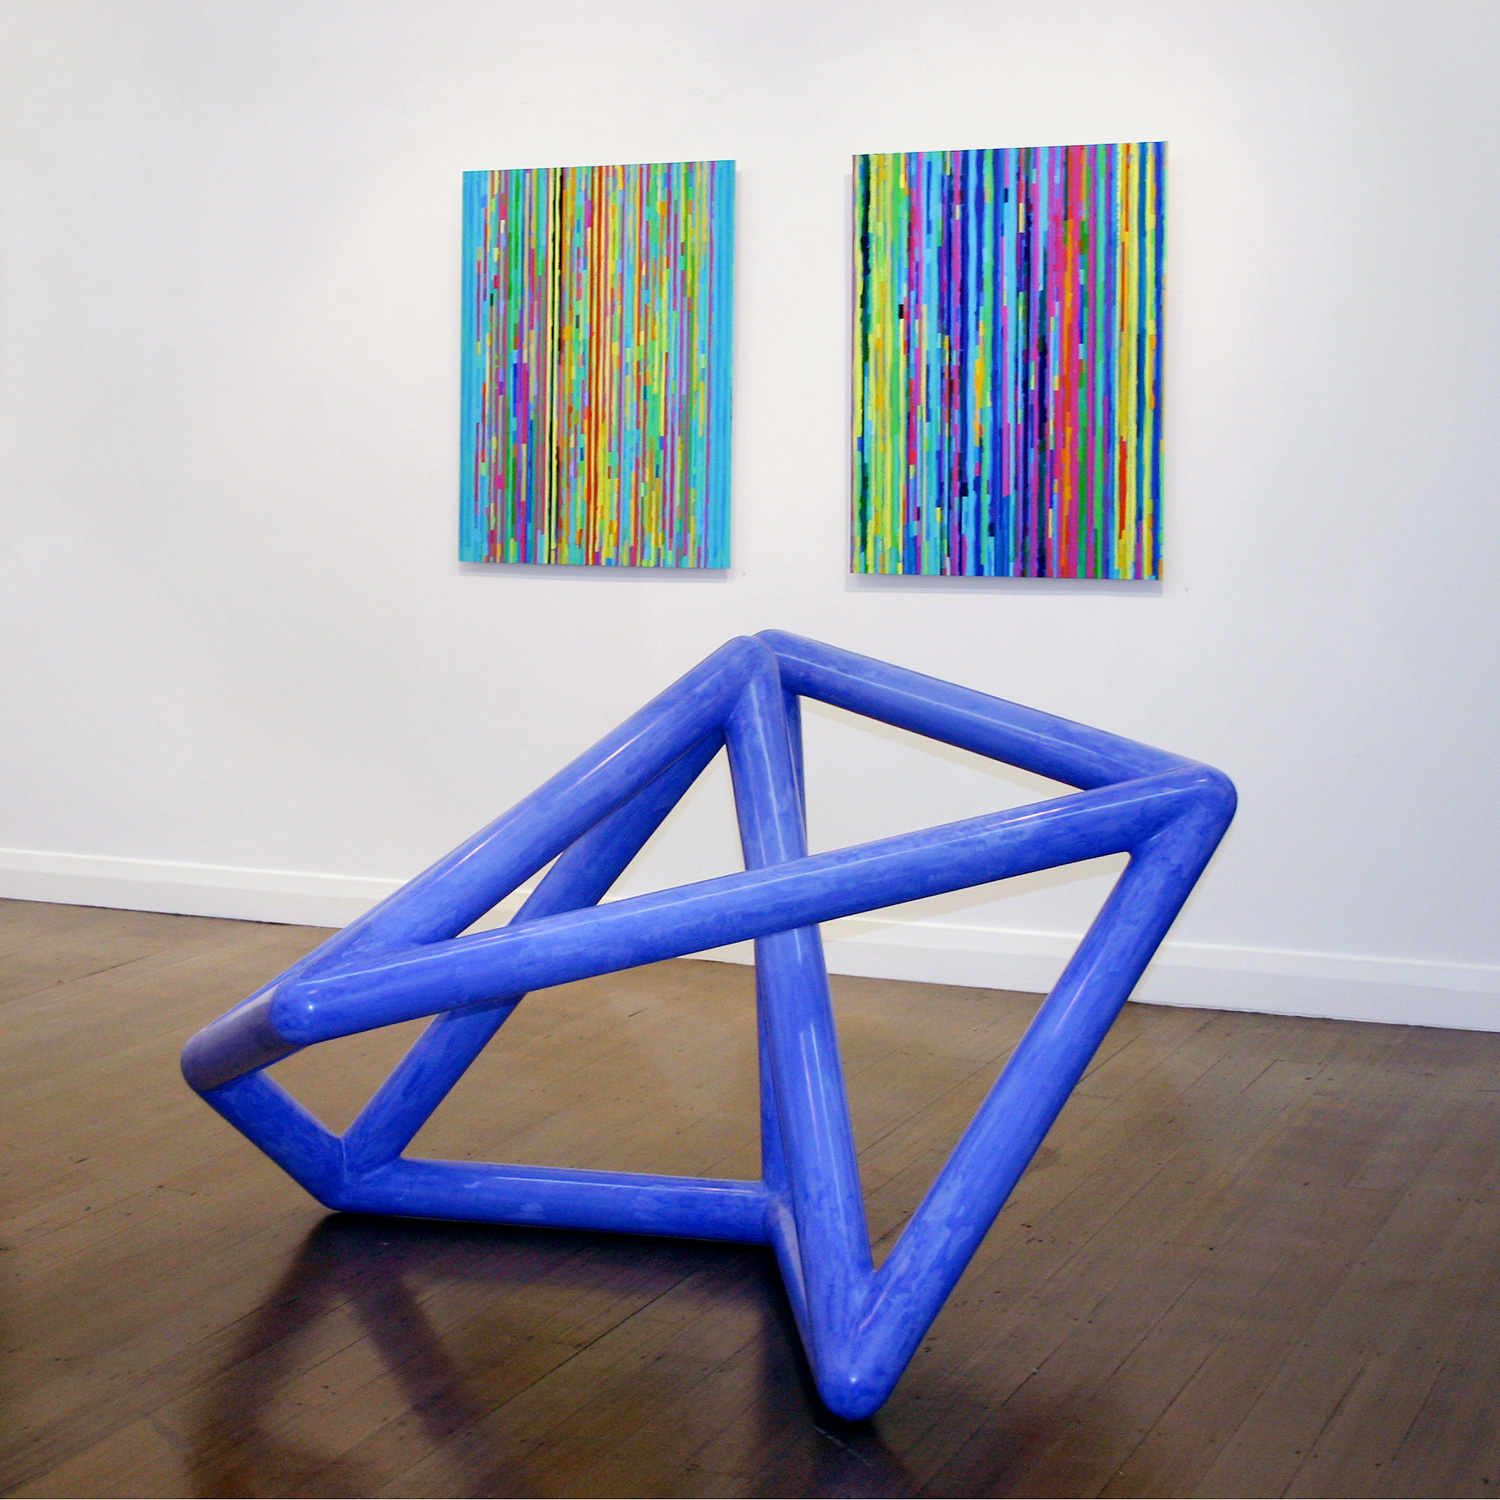
Foreground: Vessel #2, 2003
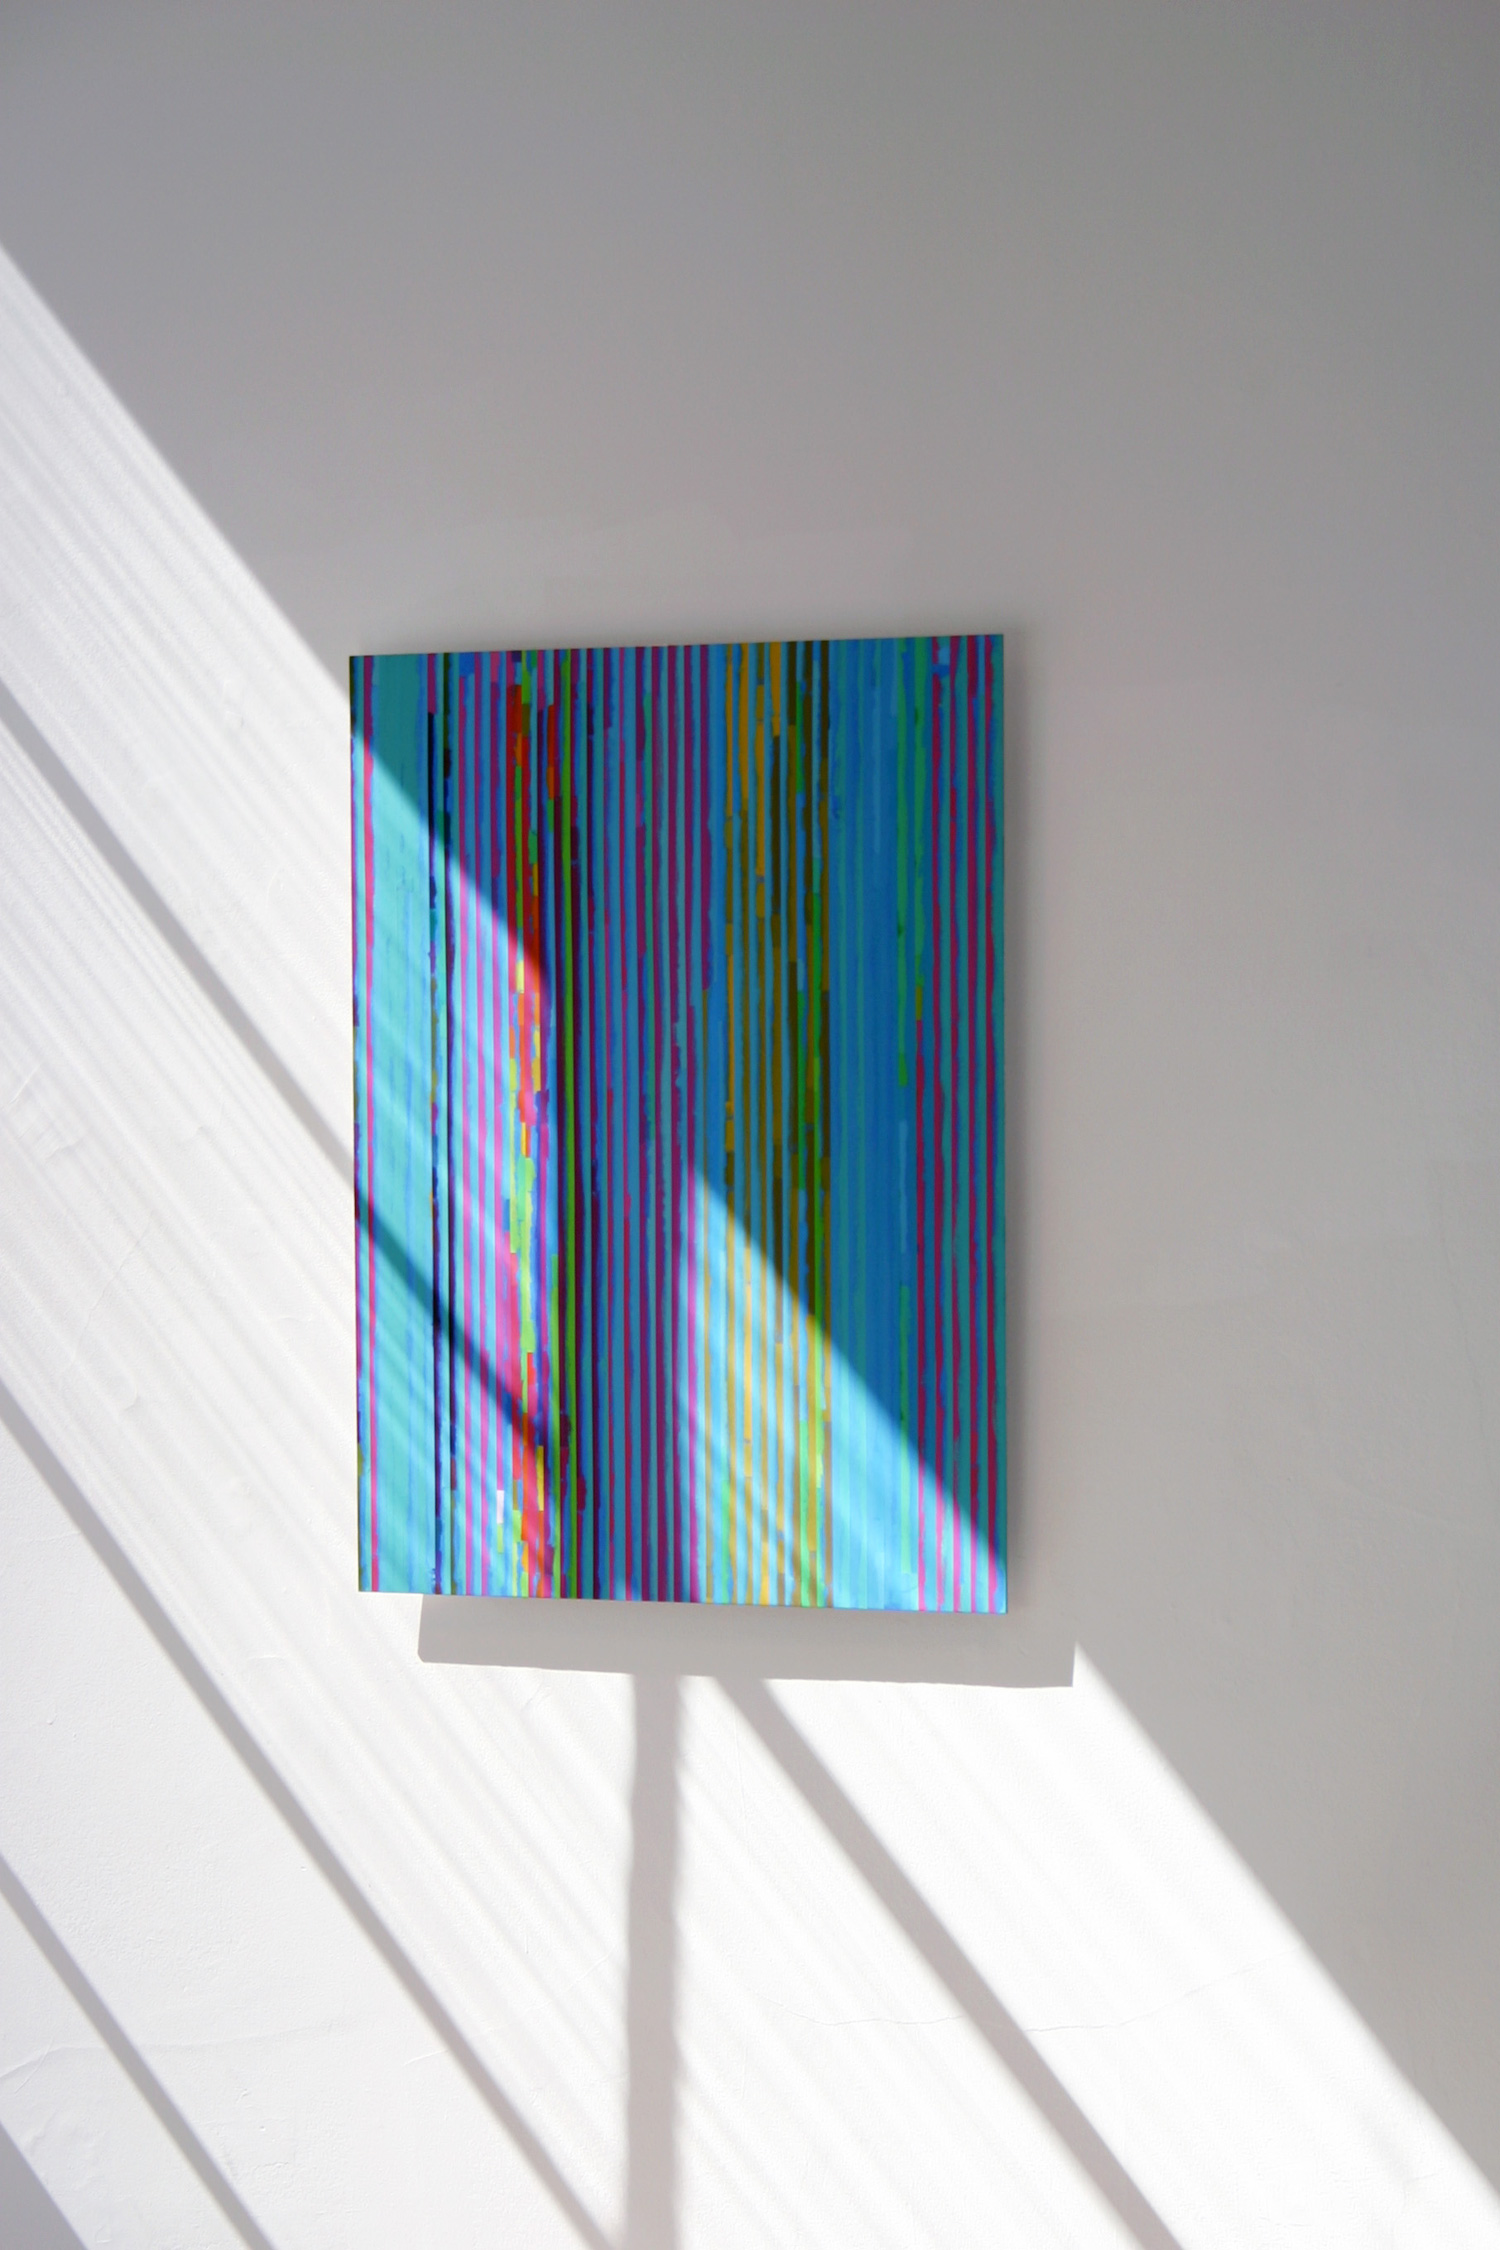
Wall: Spent Light #4 & 1, 2004 - 2005
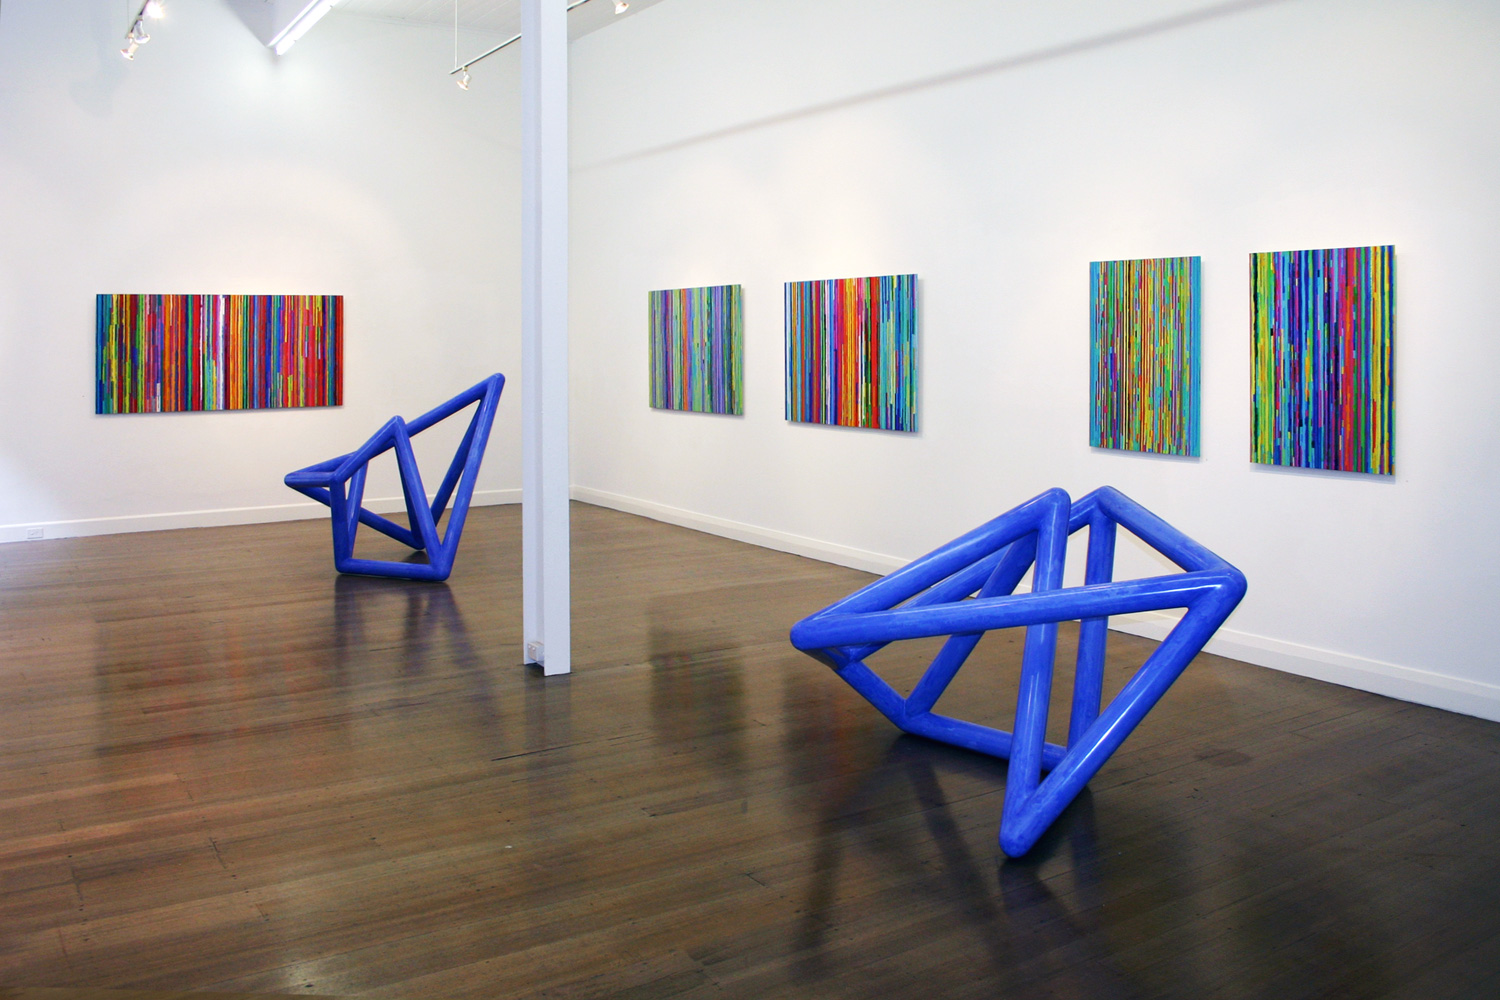
Foreground: Vessel #2 & 3, 2003
Wall: Spent Light #1, 3, 2, 5 & 6, 2003 - 2005
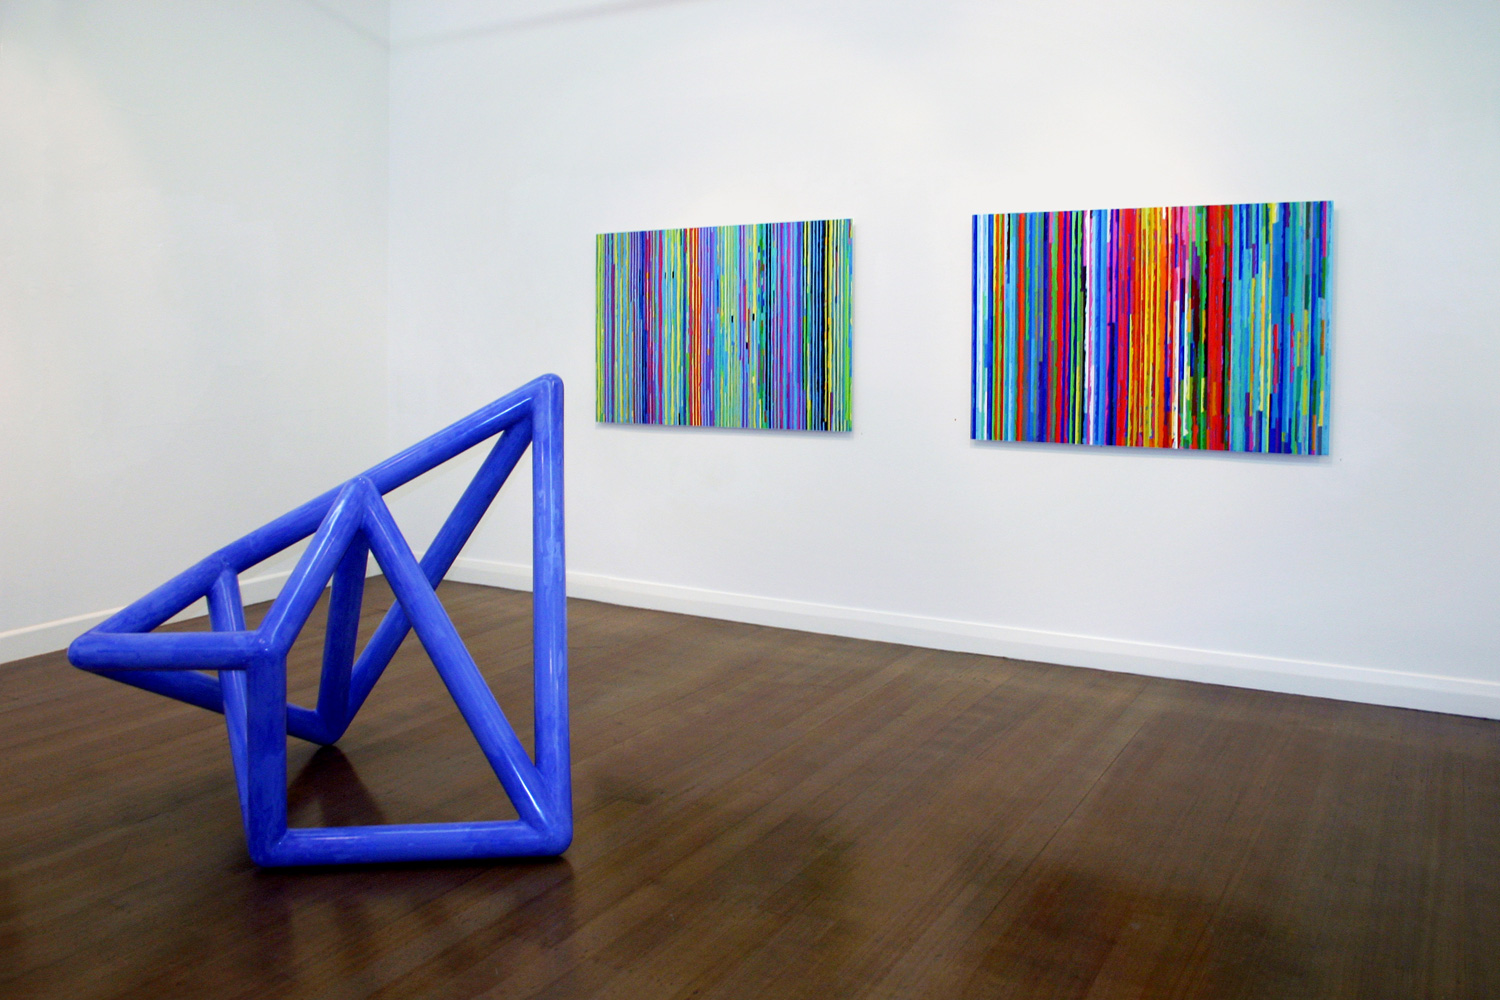
Foreground: Vessel #3, 2003
Wall: Spent Light #3 & 2, 2004
Foreground: Vessel #3, 2003
Wall: Spent Light #5 & 6, 2003 - 2004

Foreground: Vessel #2 & 3, 2003
Wall: Flickering Light #3 & 4, 2003 - 2004, Spent Light #4 & 1, 2004 - 2005